aperisolve tutorial
if this is your first time using aperisolve,
read through the information below.
+++++++++++++
+++++++++++++
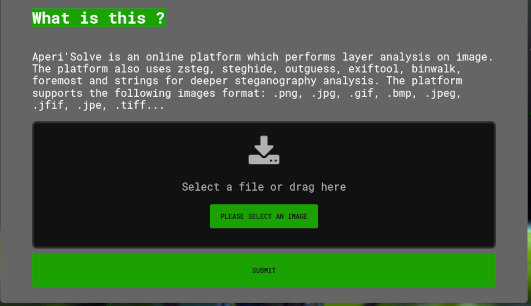 press the please select an image button to select an image to upload.
once the image is selected a preview of it will display.
press the submit button to upload the image to aperisolve.
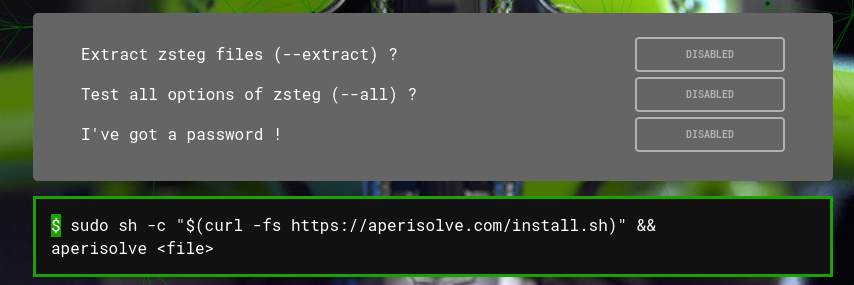 another feature on the main page are two zsteg options and one for entering a password.
press the disabled button to toggle on enable and use these options when submitting an image file.
the password option allows for the input to be used by processes that require it to extract a hidden file.
only two of the methods aperisolve uses (steghide and outguess) employ password protection.
finally there's some bash to let you run aperisolve from terminal.
more info can be found at Aperisolve Github
what aperisolve does
the uploaded file will be used and examined by many of the popular steganography forensic programs.
a brief description of each is listed below. feel free to investigate them all further.
the first thing aperisolve displays is the name of the file and its size,
when the file was first uploaded and its most recent upload to aperisolve.
aperisolve tracks how many times this file's been uploaded, letting you know if others have looked at it, too.
it will also track and list popular password attempts, if any.
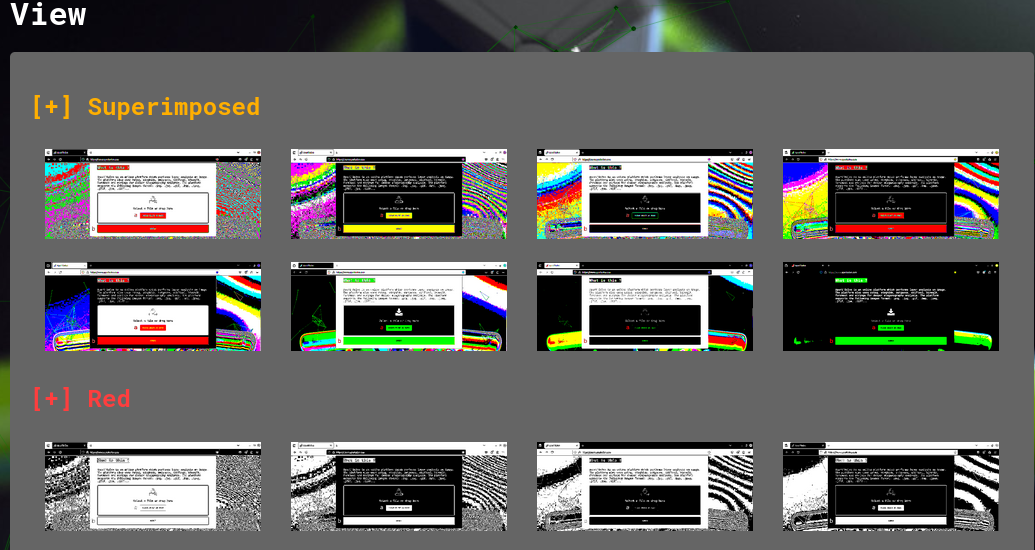
 scrolling down, the many different views of surface analysis are displayed.
these are just different ways to reinterpret the image's color, including showing the image in each of its RGB color planes.
keep an eye out for any secret messages or hidden images.
 next is a box containing the output of a zsteg analysis, if the process was able to run.
zsteg only works with png files, so there may not be any information to display.
the screenshot below shows a section of the info when a png is analysed.
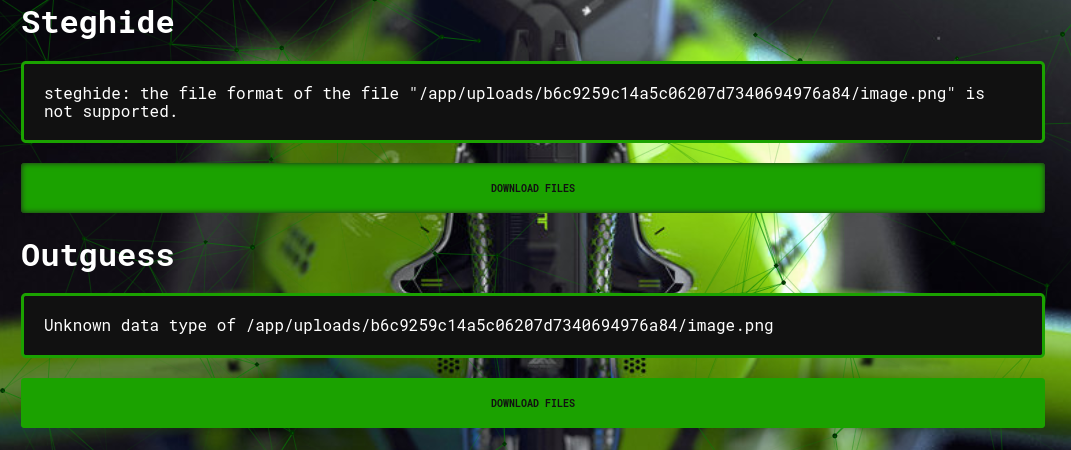
 the steghide and outguess sections will display the output of its process next.
if you entered the correct password when uploading the image, a file will be available to download.
please keep in mind that the download button will display whether or not steghide was able to find a hidden file.
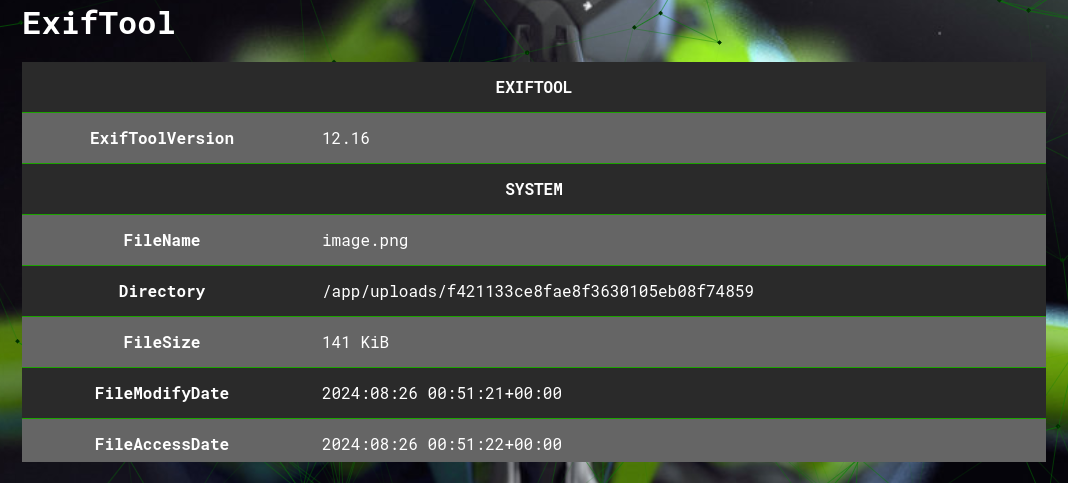
 the exiftool section that follows contains all of the metadata the image has.
depending on how the file was saved (or altered), there can be only a little bit or an immense amount of data to look through.
keep an eye out for any secret phrases, encrypted messages, or anything else that doesn't seem right.
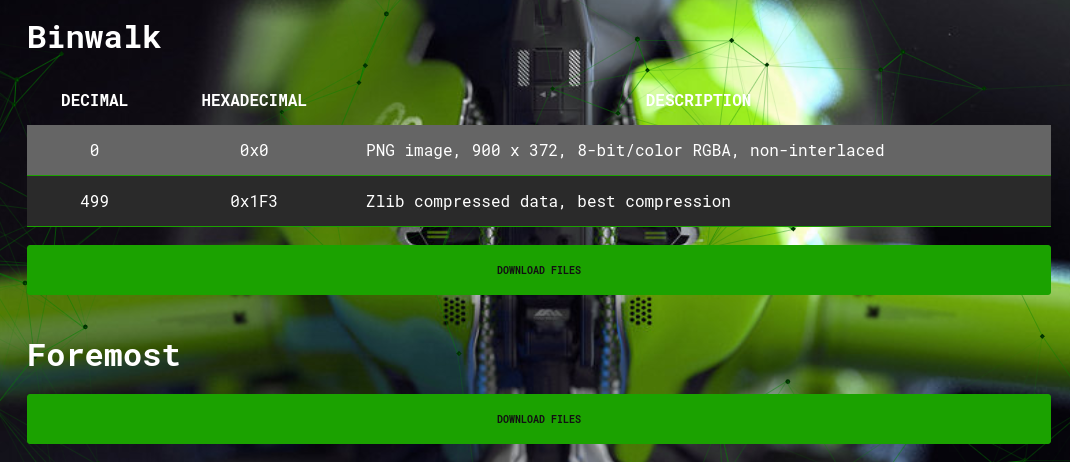
 the next two portions, binwalk and foremost, do kind of the same thing in that both will separate polyglot files.
binwalk, however, will also analyse the file and display details on different portions of an image, if any.
each download files button will offer a compressed file with the output of each of those two programs.
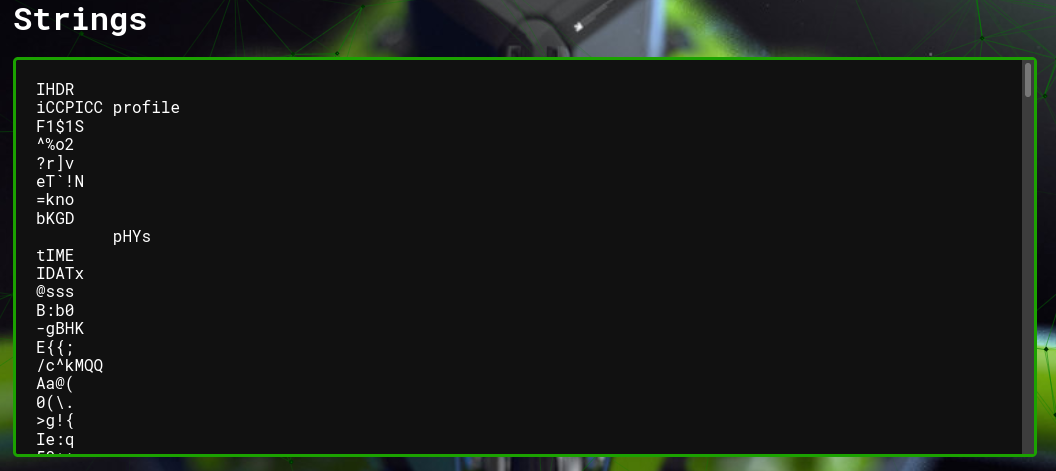
 the following strings information box displays all of the info that program provides.
like in the exiftool section, keep an eye out for any secret phrases and stuff like that.
if a secret from a ctf challenge would be displayed here, it might have some kind of marker to denote a flag.
there's a lot of data here that can seem like a secret, but is actually just normal stuff from the file.
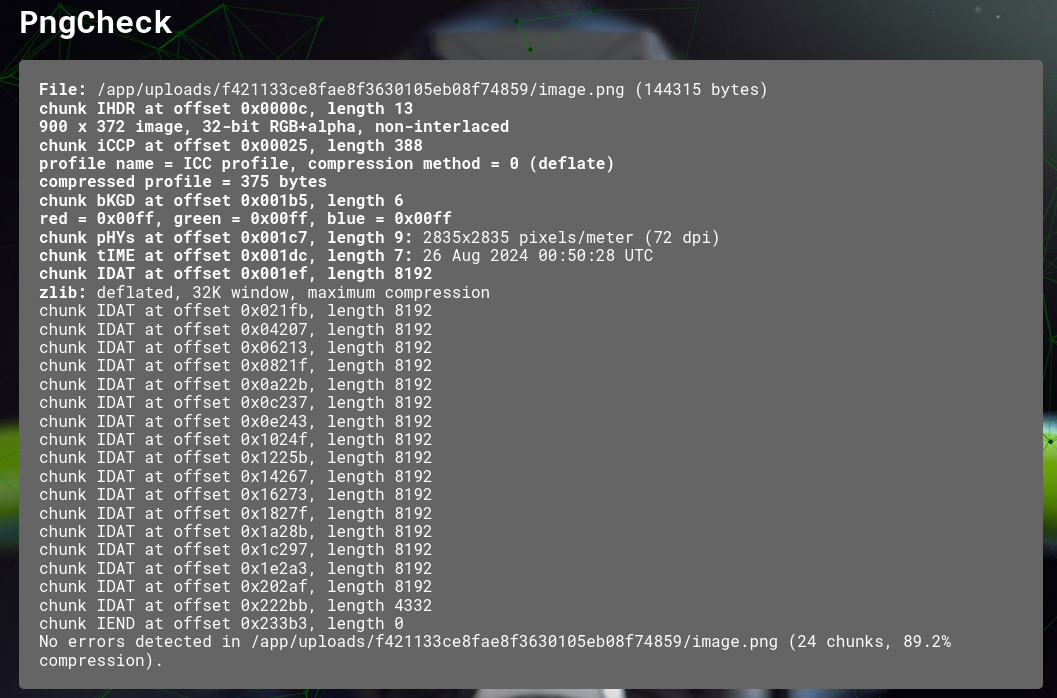
 finally, the pngcheck section displays all of the info that process will provide.
same goes for this section - look for abnormalities that might lead you to a solution, or another clue to the solution.
 the results you'll get from aperisolve will help you solve all of the puzzles in this steganography challenge,
but feel free to search for more information about these methods online to better understand how they work.
 press the please select an image button to select an image to upload.
once the image is selected a preview of it will display.
press the submit button to upload the image to aperisolve.
 another feature on the main page are two zsteg options and one for entering a password.
press the disabled button to toggle on enable and use these options when submitting an image file.
the password option allows for the input to be used by processes that require it to extract a hidden file.
only two of the methods aperisolve uses (steghide and outguess) employ password protection.
finally there's some bash to let you run aperisolve from terminal.
more info can be found at Aperisolve Github
what aperisolve does
the uploaded file will be used and examined by many of the popular steganography forensic programs.
a brief description of each is listed below. feel free to investigate them all further.
the first thing aperisolve displays is the name of the file and its size,
when the file was first uploaded and its most recent upload to aperisolve.
aperisolve tracks how many times this file's been uploaded, letting you know if others have looked at it, too.
it will also track and list popular password attempts, if any.
 scrolling down, the many different views of surface analysis are displayed.
these are just different ways to reinterpret the image's color, including showing the image in each of its RGB color planes.
keep an eye out for any secret messages or hidden images.
 next is a box containing the output of a zsteg analysis, if the process was able to run.
zsteg only works with png files, so there may not be any information to display.
the screenshot below shows a section of the info when a png is analysed.
 the steghide and outguess sections will display the output of its process next.
if you entered the correct password when uploading the image, a file will be available to download.
please keep in mind that the download button will display whether or not steghide was able to find a hidden file.
 the exiftool section that follows contains all of the metadata the image has.
depending on how the file was saved (or altered), there can be only a little bit or an immense amount of data to look through.
keep an eye out for any secret phrases, encrypted messages, or anything else that doesn't seem right.
 the next two portions, binwalk and foremost, do kind of the same thing in that both will separate polyglot files.
binwalk, however, will also analyse the file and display details on different portions of an image, if any.
each download files button will offer a compressed file with the output of each of those two programs.
 the following strings information box displays all of the info that program provides.
like in the exiftool section, keep an eye out for any secret phrases and stuff like that.
if a secret from a ctf challenge would be displayed here, it might have some kind of marker to denote a flag.
there's a lot of data here that can seem like a secret, but is actually just normal stuff from the file.
 finally, the pngcheck section displays all of the info that process will provide.
same goes for this section - look for abnormalities that might lead you to a solution, or another clue to the solution.
 the results you'll get from aperisolve will help you solve all of the puzzles in this steganography challenge,
but feel free to search for more information about these methods online to better understand how they work.